In the ongoing search for the "perfect" set of Napoleonic rules my Tuesday night gaming buddy Dale and I thought we would give the recently-released General d'Armee Version 2 a run. I have had Version 1 on my shelf for years now but never read them, whereas Dale had tried out a few solo games with them, so we both decided to give Version 2 a go.
A quick read-through and we thought a divisional-level game would be a good place to start, with three brigades of infantry and one of cavalry each. The Austrians are defending a village, the possession of which carries victory points. As the attackers the French have the advantage of an additional two battalions.
Under GD2 the defender deploys first, with a dice representing each brigade and with the allowance of an additional dummy dice (two if the defender has off-table reserves). The attacker can then attempt to reveal up to three of these positions with a D6 die roll; if it is greater than that of the defender the position is revealed, after which the attacker then deploys. The defender then deploys any brigades which have not been revealed.
Unfortunately the French only managed to reveal one infantry brigade. However, deployment saw pretty much a mirror image, with the cavalry and reserve/recruit infantry brigades facing off against each other. The initial deployment therefore looked as follows, with the defender being able to deploy up to the halfway line:
Turn one saw the French gain the initiative and make their initial move toward the Austrian lines, with the lead cavalry unit charging and being countercharged by the lead Austrian cavalry unit. The cards on the table represent adjutant taskings which can be used to bolster various activities, such as re-rolling 'hesitant' brigades, adding to the charge capabilities of units or increasing the effectiveness of skirmisher or artillery fire.
The first round of the cavalry melee here resulted in a draw, which allowed both sides to immediately commit their second cavalry units as reinforcements:
The second round is then completed within the same turn. The Austrians lost the combat and were forced to retreat. Both sides are unformed as a result and must spend the next turn rallying.
The next two turns saw the French continue to advance, with the Austrian reserves moving up to meet their French counterparts:
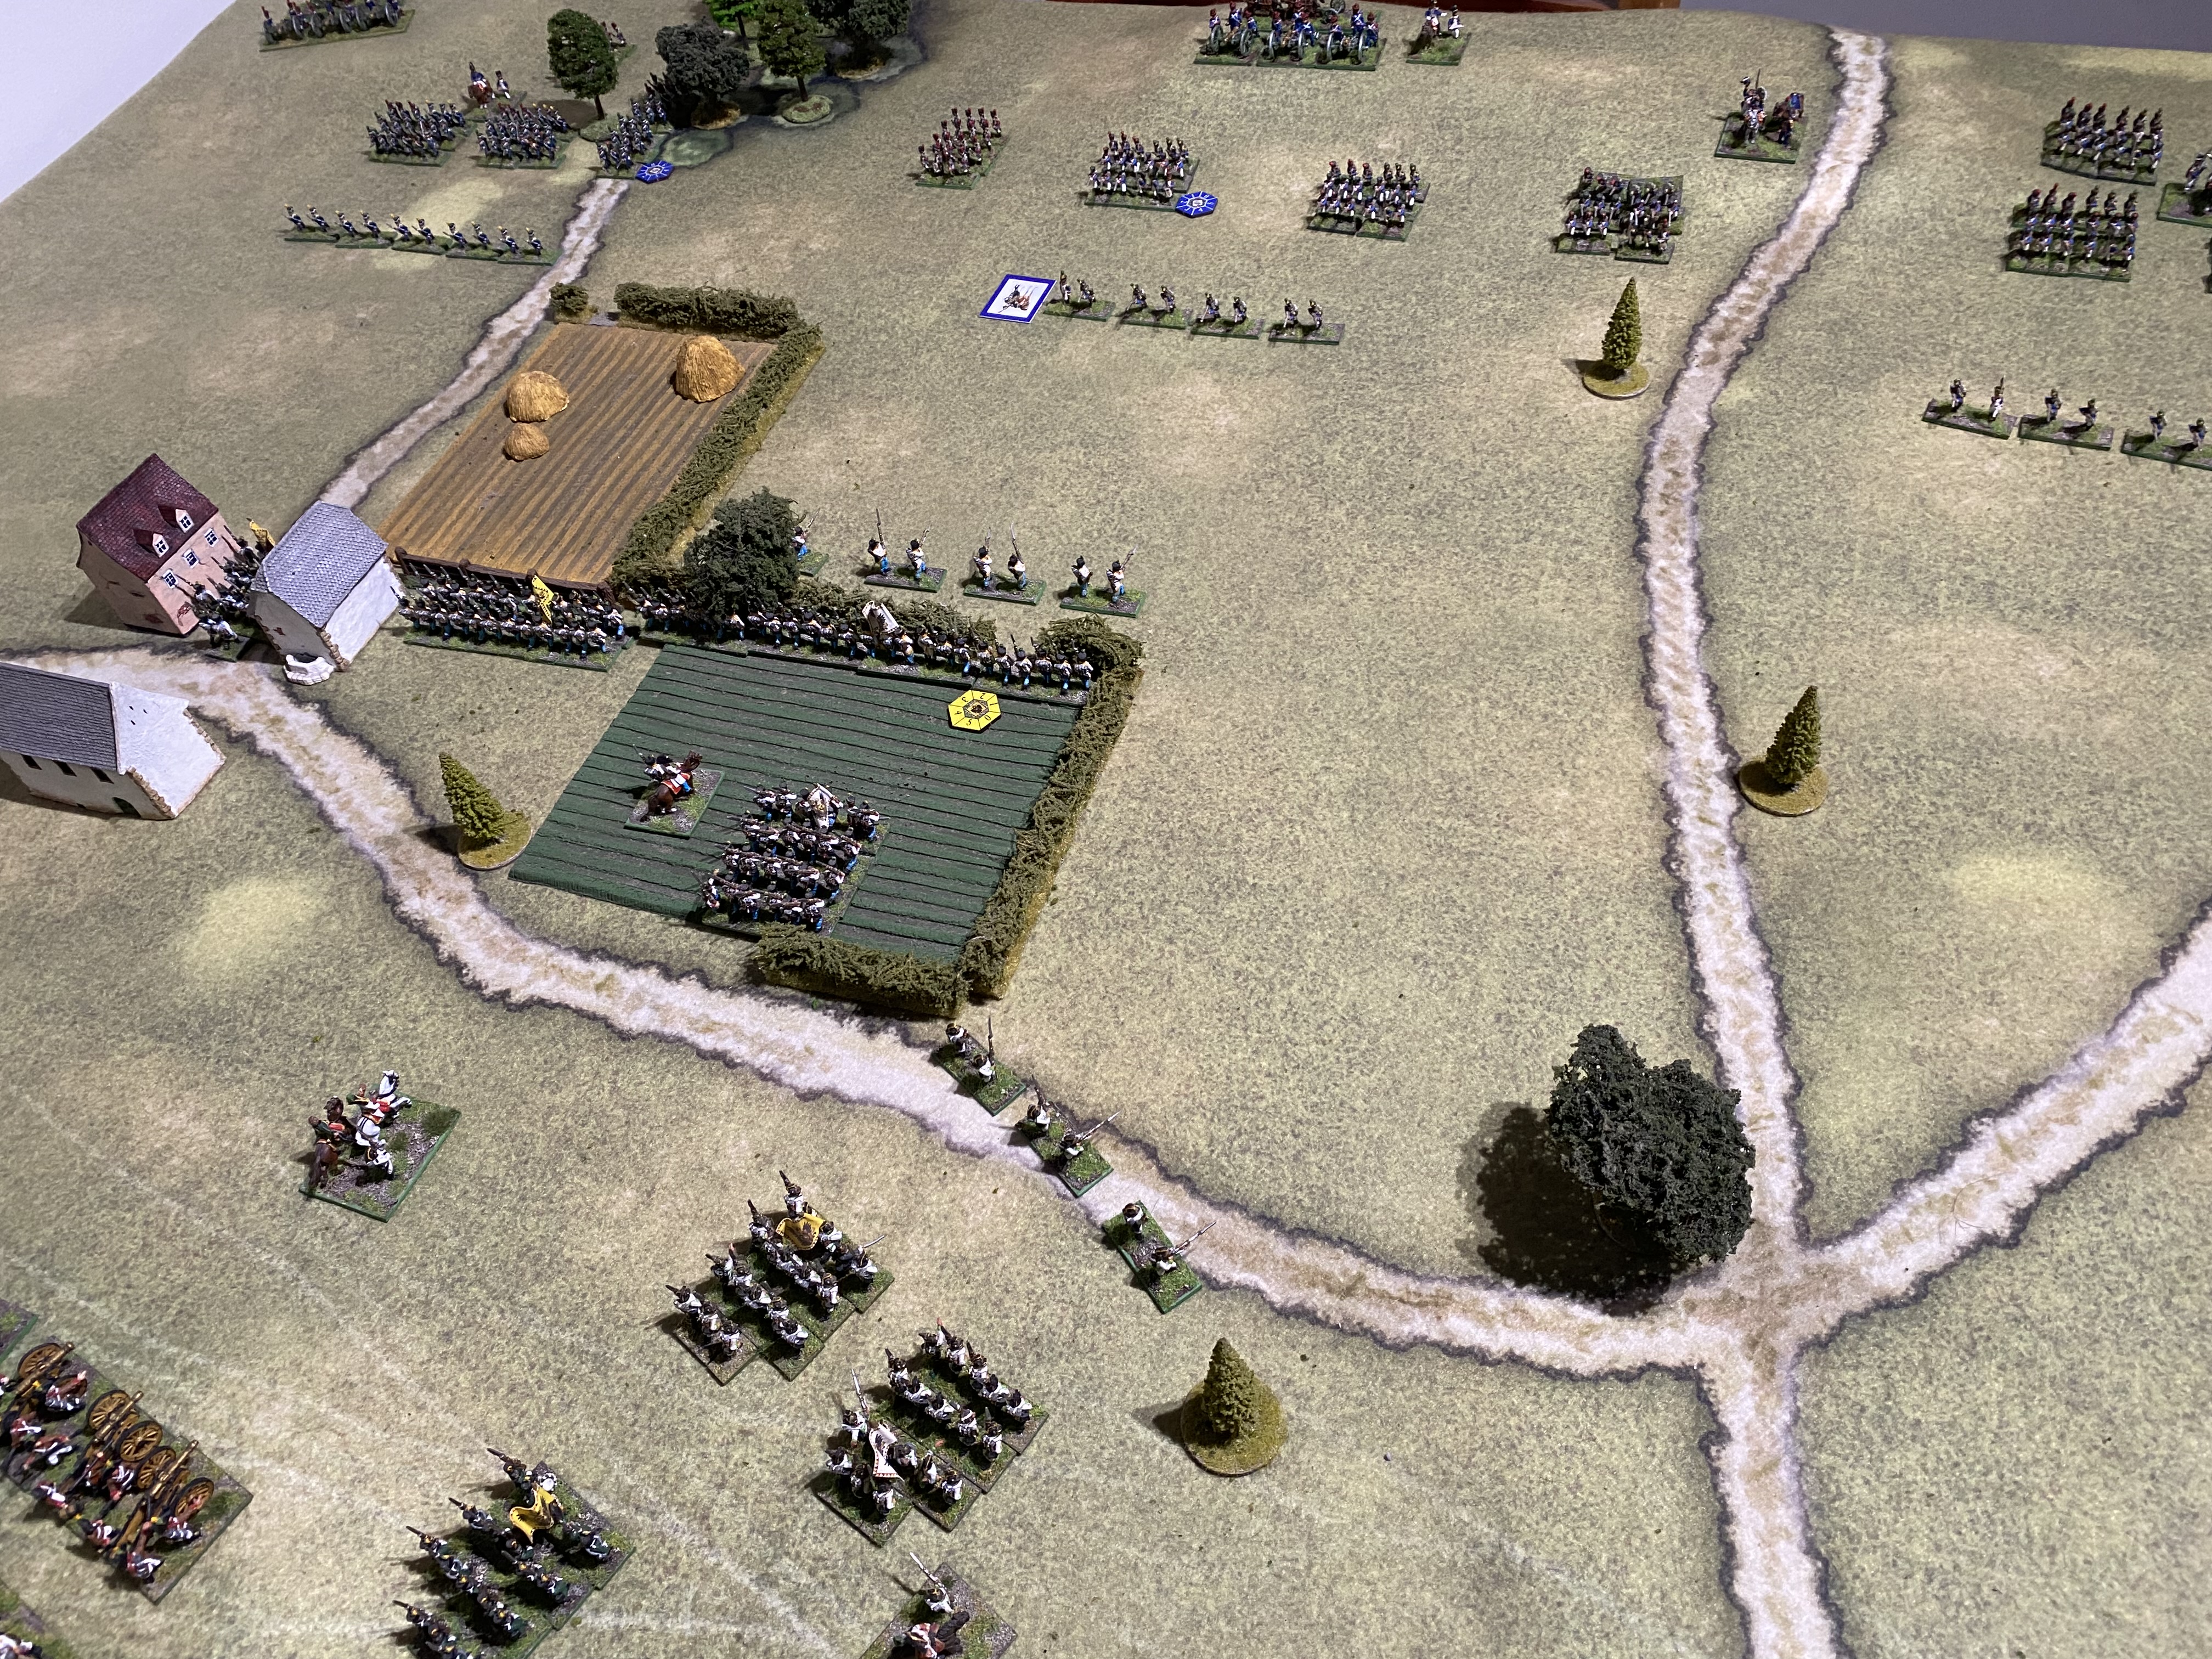
The French launch an infantry assault against the Austrians behind the hedge in the fourth turn. In order to increase their chances the French played an ADC infantry assault card which allows a lead unit to charge with up to three supports. The Austrians have one unit in support to the rear. Each support within 5cm of the lead charging or defending units allows either of the two D6 charge or defending dice to be re-rolled.
The defending unit fires, any discipline test is resolved, and then the two charge dice rolled with any re-rolls is then applied. The loser's score is deducted from the winner's and the results referenced on the charge table, which in this case saw the French lead unit close to combat. The combat then resulted in a draw, meaning the defender holds the ground and the lead attacking unit is forced to withdraw.
The unit to the left of the defending Austrian unit elected not to support and instead fired at the French unit in the field directly in front, inflicting heavy casualties and causing it to disperse. This is essentially a rout requiring the removal of the unit from the table. The unit was already carrying significant casualties from concentrated Austrian artillery fire, so the musket volley pushed it over the edge. There is no figure removal in GD2, but counters are used to keep track of unit casualties with standard units becoming worn when they exceed six casualties, and dispersing at twelve.
Meanwhile, on the right flank the cavalry were at it again, this time resulting in a narrow Austrian victory and French retreat:
Turn five saw the French try to expel the garrison from the village, only to be repelled in a close result. Both sides caught their breath in the following two turns, with the only real action being some long-range artillery fire and skirmish exchanges between the two reserve brigades:
This did however give the Austrians the lull they needed to withdraw the two worn battalions defending the village and hedge, exchanging positions with two fresher battalions, before the French advanced to again try their luck:
Note that the skirmish line has been withdrawn in front of the opposing reserve brigades. This is because they were being worn down which can have a detrimental effect upon brigade morale if they reach the point of annihilation. It is possible to reinforce a skirmish line, but this costs an entire battalion to do so.
The cavalry have a third go at each other, with both brigades in a parlous state:
The Austrians charge the weaker of the two French regiments and, even though the combat is a draw, cause enough casualties for the French regiment to disperse, or break. It is now two against one:
The Austrian cavalry charges again, but the lead Austrian unit is worn and the French play an ADC card, meaning that after modifiers the French get to throw six dice against the Austrian three. Casualties are scored on a 4,5 or 6, and the Austrians manage to inflict two out of their three rolls. The French throw the following:
Although they have lost by one casualty to two, the French can elect to stand and enter a second round of combat. However with the reinforcing Austrian cavalry regiment about to add another five D6 to the combat rolls and with the French regiment now worn with seven casualties, the French elect to withdraw leaving the flank open to the Austrian cavalry.
Meanwhile the French make one last attempt to take the village with an unsupported battalion, but are repelled. Their recruits force an Austrian reserve battalion to retreat, but the Austrians reserves do the same to their French counterparts:
With four other French battalions one to two casualties away from dispersal, and no real prospect remaining of the French taking the village, the game was called after fifteen turns as an Austrian victory. We had originally intended to stop at the recommended twelve turns, which from memory would still have been an Austrian victory, but decided to play on to resolve a few of the situations that were still in flux.
The game was played over five nights of around two hours each. Given that we were learning the rules this probably could have been shortened to six hours or less, and I don't believe that the addition of another division would necessarily have added much more than a couple of hours to game play.
The rules flowed nicely and each two hour session seemed to fly by, even though this was a learning game. I normally prefer rules with figure or element removal as to me this provides a visual representation of a unit's degradation, but the counters are a decent substitute and flipping them over to red when a unit becomes worn provides the visual indication that a unit is losing cohesion.
The 'dispersal' of units is also something I'm still not sure about. Having a unit suddenly disappear rather than routing back toward the table line with the possibility of rallying it is again something I'm not used to. Granted, this does have an effect upon the brigade as it causes it to 'Falter', but I am more used to being able to rally a unit and to push it back up in a supporting position.
I'm also used to having to pass a morale test for units to commence charges, but this is automatic in GDA with the morale test effectively applying to see whether the unit charges home and then engages in combat. If it fails to do so it withdraws, usually to the point around where it started, so the result is effectively the same as failing to initiate a charge in the first place. Thinking about it a bit more this does make sense in that there weren't many instances I can recall where a unit point blank refused to charge, the crucial point being whether it actually carried through with a charge and closed to combat.
The rules have a decent index to them and, looking back after each week's play, we seem to have managed our way through with only one mistake committed on the third evening where we forgot that casualties inflicted by the skirmish line are only at half effect. Given that we had been playing this rule correctly over the previous two evenings we put this down to a senior moment, and managed to retrace our steps and rectify the situation in the following session.
Having said that, the fact that Dale had played a few solo scenarios with the first edition of GDA was invaluable and he was able to step in on many occasions when I found myself fumbling through the order of play.
We are planning to replay the game with me as the French next time, but adding a brigade to each side to constitute what GDA2 calls a medium-sized divisional game as opposed to the small game we tackled as our first outing here.
In summary, I thoroughly enjoyed our first hit out with GDA2 and can see us playing these rules for our Napoleonic games, at least for the foreseeable future.